


Once the temperature climbs over ninety degrees, it's time to put aside your Spring Lagers for a crisper taste perfect for the warmer climate. There is nothing quite like settling in with a good IPA after mowing the grass or completing another outside task. While the style is not my personal favorite when it comes to beer, there is a place for them in every home brewer's recipe file.
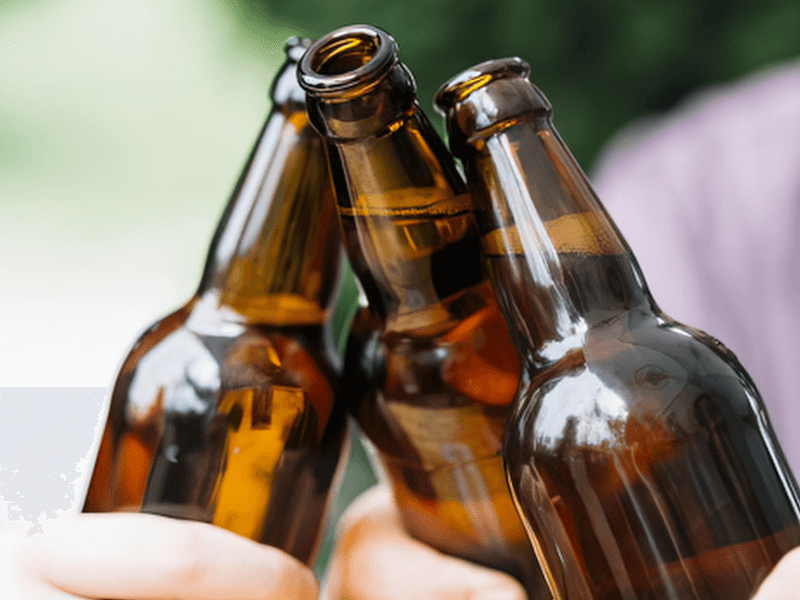
As mentioned previously, the British created IPAs to provide beer for soldiers deployed to India back in the 19th century. The crisp taste was a byproduct of the process to keep beer from going bad during the long sea travel back then.
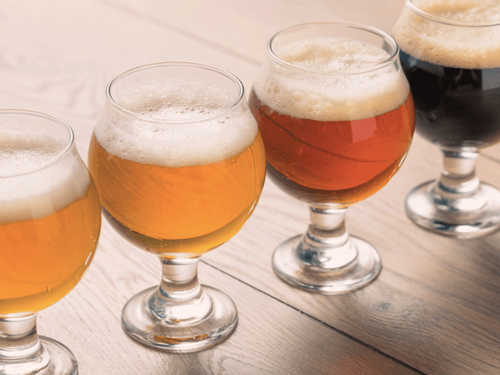
Today's IPAs can be clear or a bit hazy with a citrus or pine nut flavor. Some IPA aficionados actually prefer a hazy one, claiming it has a bit more flavor. I've tried both, and while I don't detect a change in flavor, there is a different feel on the tongue compared to a clear one. That's why you won't find Irish Moss in a Hazy IPA recipe.
My favorite IPA I brewed at home is the Apollo Pale Ale, a clear IPA. The name and recipe came from a local shop in the Roseville, California area that caters to home brewers and wine makers. I began the process in June, so it was ready for drinking in July. It was so good, I even noted when I drank the last one in August. Not that I'm sentimental or anything like that; maybe.
Ingredients for this great Summer beer include:
- Seven pounds Alexander LME Pale grain
- Two pounds Crystal 15L
- One ounce Apollo hops
- One package of Wyeast yeast
- One teaspoon Irish Moss
- One three-quarter cup of bottling sugar
There were many steps in putting this IPA together. It's a little more intense for new homebrewers, but it's worth it.
Directions:
- Place 1.5 gallons of water in your brew pot and turn on the heat. Once you reach 165 degrees, turn it off.
- Place your Alexander and Crystal grains into a grain bag and let them soak for 30 minutes. Nudge the bag around the pot a few times to make sure all the grains come into contact with the water.
- Remove the bag and let it drain back into the brew pot. A large colander set over the pot allows you to drain the liquid without squeezing the bag. Two cups of cold water are enough to help sparge or rinse the grain to get the most flavor out.
- Fill up your brew pot to the four-gallon level. Stopping here prevents boiling over or splashing later in the process.
- Turn the heat back on and bring to a rolling boil. It should look like water flowing fast over rocks.
- At 45 minutes, add 1/2 ounce of Apollo hops.
- Add the Irish Moss after another five minutes.
- Add 1/2 ounce of Apollo hops after another 10 minutes, continue boiling for 10 minutes more, then turn off the heat.
- Congratulations, you now have wort. Stir it rapidly for several minutes.
- Chill the wort to less than 80 degrees. 65 degrees is best if you can get there.
NOTE: You can place your brew pot in a tub of ice to chill, or use a copper chiller to bring down the temperature using the cold-water tap.
- Rack the wort into a sanitized fermenting bucket or other container. You can pour it directly or use a hand siphon to transfer it slowly. This second method reduces the amount of wort sediment that gets into your fermenter.
- Aerate your wort. This means increasing the amount of oxygen by stirring it or rocking the fermenter back and forth for a minute or two. Make certain to use only utensils you have sanitized, and watch out for splashing.
- Pitch the Wyeast into the fermenter. Just sprinkle it carefully over the wort, avoiding clumps. Do not stir, as this will force the yeast under the wort surface.
- Close the fermenter and place it in a dark area, such as a closet, for 2 weeks. Try to keep it at 60-65 degrees as this is the best range for IPA wort.
- After 2 weeks, dissolve the bottling sugar in a small pot for 5 minutes, then pour it into a sanitized carboy. Immediately rack the fermented wort onto the dissolved sugar, making sure the sugar does not clump at the bottom of the carboy. If you need to stir it, do not stir for more than one minute.
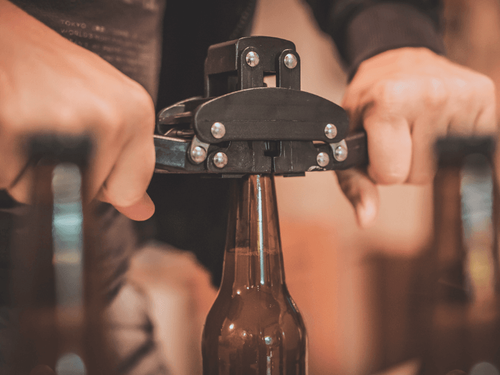
- Bottle the beer immediately, cap it carefully, and return it to the dark closet for two weeks.
- Chill overnight and then enjoy!

As I said above, this is a more intensive process, but the results are worth it. If you have any questions about fermenters, chillers, or the other equipment, check out these previous Get Your Brew On blogs.
Explore More with My Military Lifestyle and Crafts!







No comments yet. Be the first!