


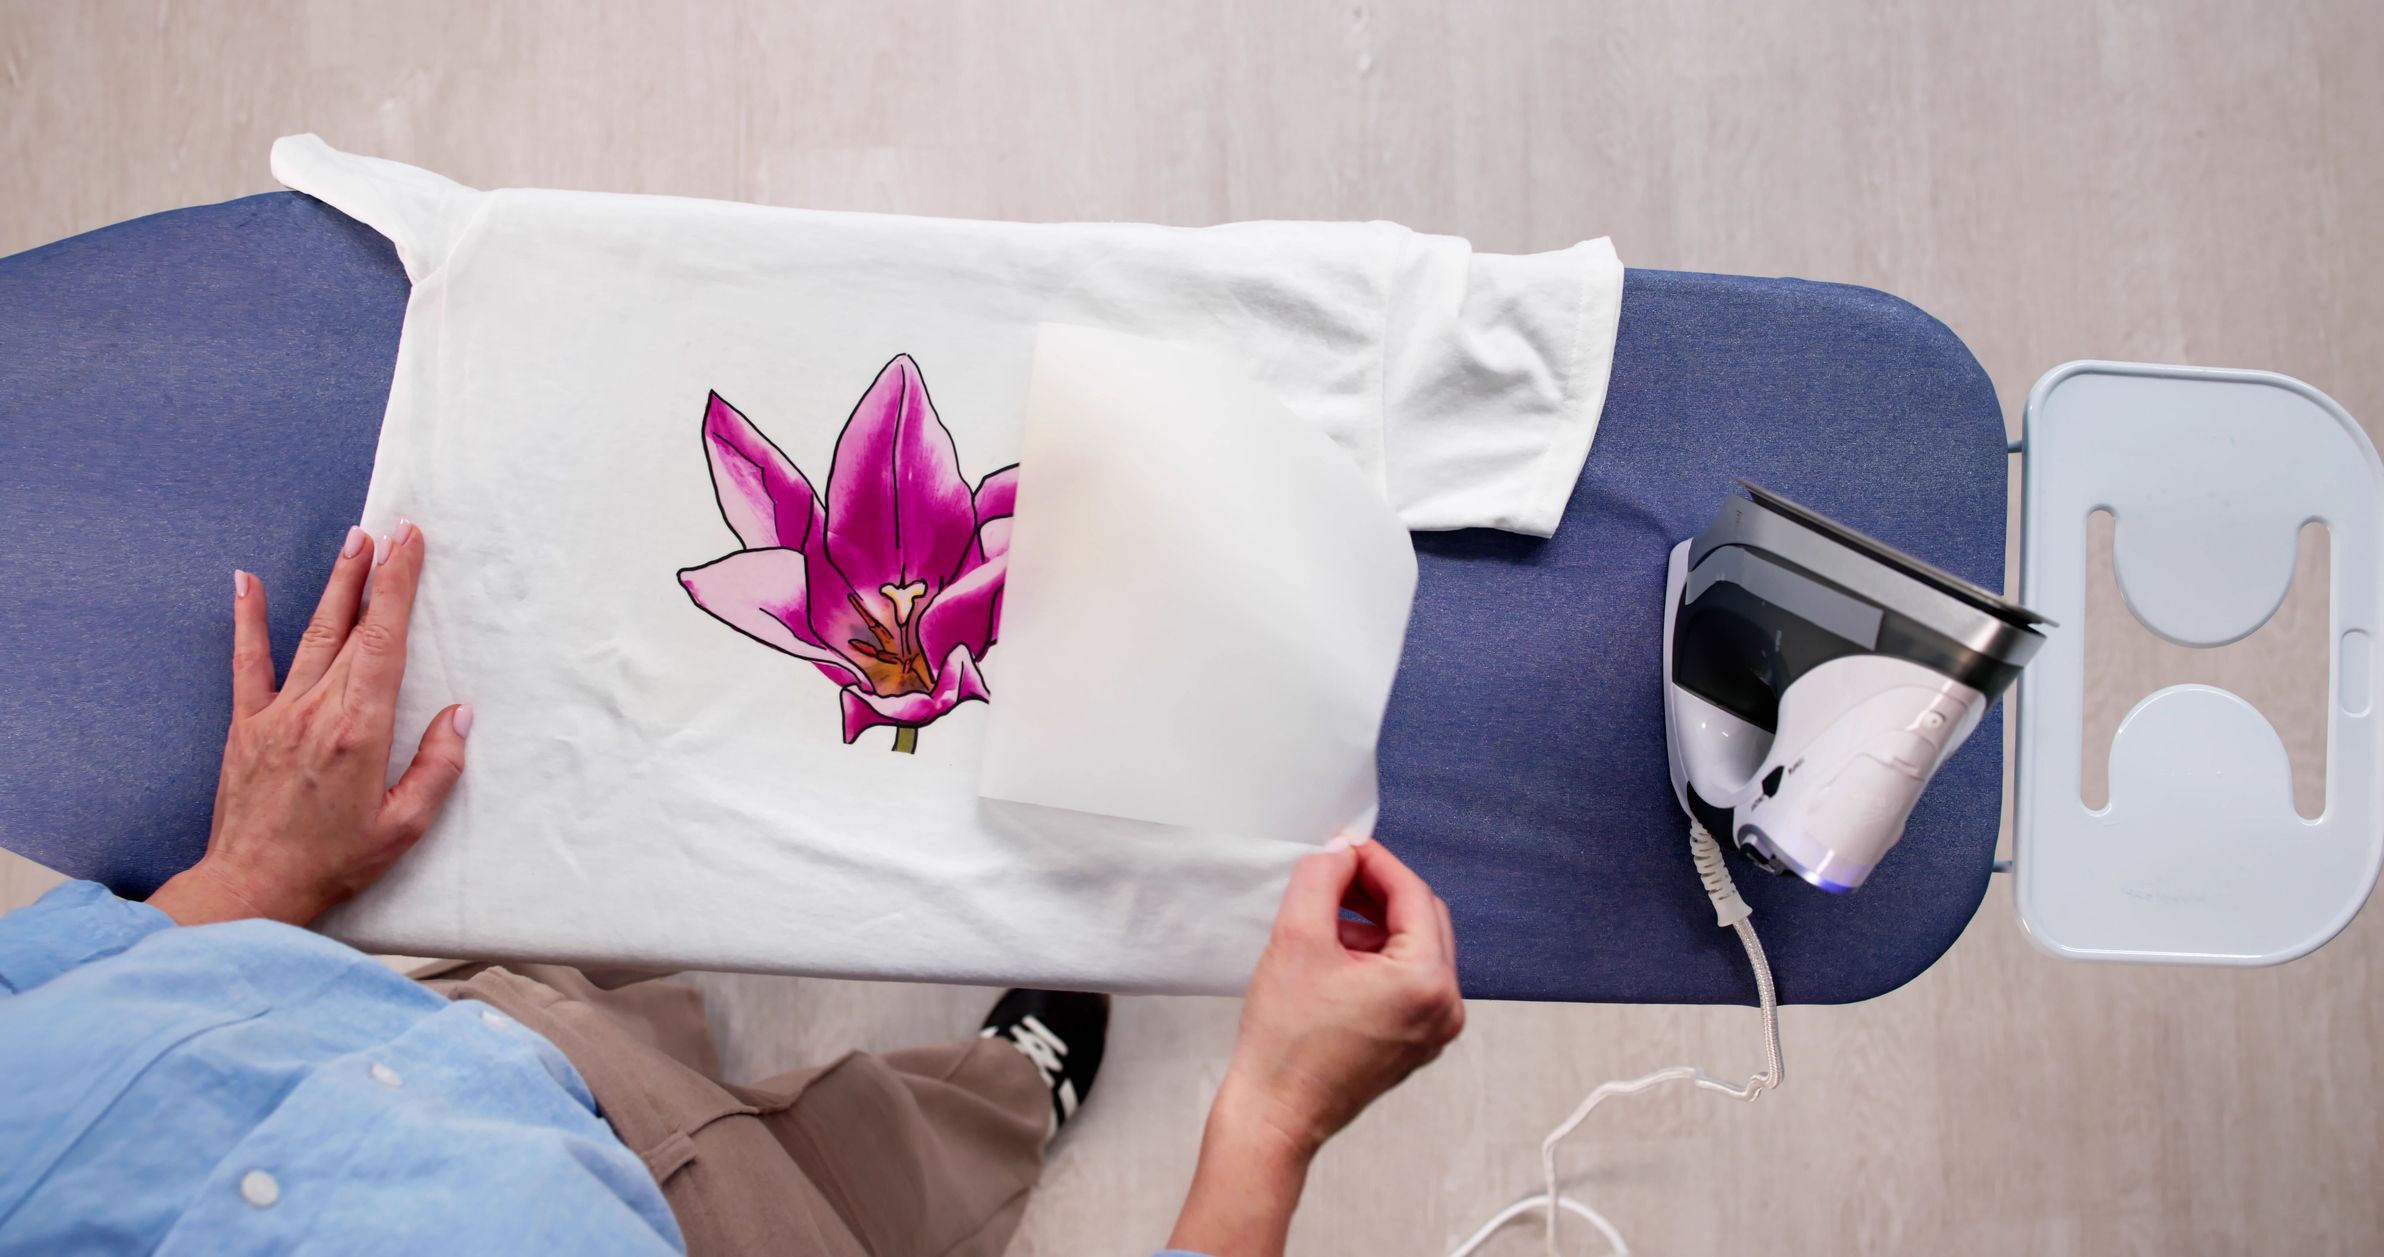
A Beginner-Friendly DIY Guide + Free Printable Designs
Custom T-shirts, tote bags, pajama sets, team gear, and kid-made gifts do not require a cutting machine or a professional print shop. With the right inkjet-compatible transfer paper, a home printer, and an iron, you can make your own iron-on transfers in an afternoon.
This is an especially useful project for military families: make matching shirts for a PCS, a unit homecoming, a birthday, a school spirit day, a family vacation, a deployment countdown, or a simple at-home craft night. The key is using the right paper for your fabric and following that paper brand’s instructions exactly.
Before you begin: Transfer-paper instructions vary by brand. Always follow the temperature, press time, paper orientation, and peel instructions printed on your specific package. Light-fabric and dark-fabric transfer paper do not work the same way.
What You’ll Need
Gather these supplies before you start:
- An inkjet printer compatible with your chosen transfer paper.
- Iron-on transfer paper for light fabrics or dark fabrics.
- A clean T-shirt, tote bag, sweatshirt, pillowcase, or other fabric item.
- A household iron with the steam setting turned off, or a heat press.
- A hard, heat-safe surface, such as a sturdy table or countertop protected according to the paper manufacturer’s directions.
- Scissors or a craft knife and cutting mat.
- Plain printer paper for a test print.
- Parchment paper, a pressing sheet, or the protective sheet included with your transfer paper, if required by the manufacturer.
- One of the free printable designs from this article.
Choose the right transfer paper
The two most common types of printable transfer paper are designed for different fabric colors:
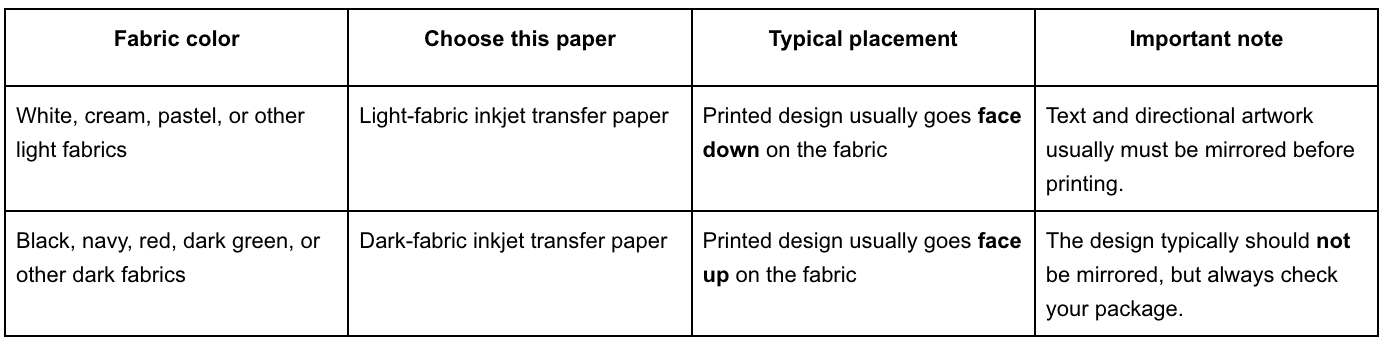
Light-fabric transfer paper is generally printed as a mirror image because the image is turned face down before it is applied. Dark-fabric paper is generally placed printed-side up, so it usually should not be mirrored. Product instructions take precedence because materials and peel methods differ by brand.
Before You Print
A little preparation prevents most first-time mistakes.
1. Choose a simple design
Begin with a design that has:
- Large, readable text.
- Bold shapes or clean line art.
- High contrast.
- Minimal tiny details.
- No important wording near the edge of the printable area.
Small details can be harder to cut and may not transfer as cleanly. For a first project, try a simple name, phrase, monogram, silhouette, or kid-friendly icon.
2. Size the design for your project
Open the printable in a document, image editor, or design program. Resize it before printing.
A few easy placement guidelines:
- Left-chest designs are often around 3–4 inches wide.
- Youth-shirt designs may be around 6–8 inches wide.
- Adult front designs are often around 8–11 inches wide.
- Tote-bag designs can usually be larger, depending on the bag’s printable area.
Print a test copy on regular paper first. Hold it against the shirt, tote, or other item to confirm the size and placement before using transfer paper. HP specifically recommends a plain-paper test print before loading transfer sheets.
3. Mirror only when your paper requires it
If you are using light-fabric transfer paper, flip the design horizontally before printing—especially if it includes words, dates, flags, arrows, or any other directional element. A mirrored design will read correctly once it is transferred face down onto the fabric.
If you are using dark-fabric transfer paper, do not automatically mirror it. Many dark-fabric papers are placed design-side up and therefore need the artwork printed normally. Check your brand’s package directions before clicking Print.
4. Check which side of the paper is printable
Transfer paper is often coated on only one side. The printable side may be white, dull, matte, or otherwise labeled; the backing side may be shinier or carry a logo. Load the paper according to your printer’s feed direction and the paper manufacturer’s instructions. A quick plain-paper test can help you identify whether your printer prints on the top or bottom side of a loaded sheet.
How to Make an Iron-On Transfer
Step 1: Print your design
Load one sheet of transfer paper into your inkjet printer with the printable side oriented correctly.
In your print settings:
- Select the correct paper size.
- Choose the highest or best print-quality option available.
- Select the transfer-paper media setting if your printer offers one; otherwise, follow your paper manufacturer’s recommendation.
- Confirm your design is mirrored if you are using light-fabric transfer paper.
- Print one sheet at a time to reduce the risk of jams or smudging.
Do not assume every transfer material works with every printer. Some transfer papers are intended only for inkjet printers, and using incompatible paper in a laser printer or other device can damage the printer.
Let the printed sheet dry completely before handling it. Follow the package instructions for recommended drying time.
Step 2: Cut around the design
Use scissors or a craft knife to trim away unused transfer-paper areas.
For dark-fabric transfer paper, trim closely around the artwork whenever possible. Any unprinted portion of some dark-transfer materials may remain visible as a clear, white, or slightly glossy film after pressing.
You do not need a cutting machine for this project. A simple rounded shape, circle, rectangle, or carefully trimmed outline works well for beginners.
Step 3: Prepare the fabric and work surface
Choose a clean, dry fabric item. Smooth it flat on a hard, heat-safe surface.
Avoid relying on a padded ironing board unless your transfer-paper instructions specifically allow it. A firm surface helps you apply more even heat and pressure. Preheat the fabric briefly to remove wrinkles and moisture, then let it lie flat. Some manufacturers specifically recommend a dry iron with steam turned off.
Before pressing:
- Empty water from the iron if necessary.
- Turn the steam setting off.
- Use the heat setting recommended by the transfer-paper manufacturer.
- Keep children away from the hot iron and work area.
- Test delicate, heat-sensitive, stretchy, waterproof, or synthetic materials before committing to a final project.
Step 4: Position the transfer
For light-fabric transfer paper, place the printed design against the fabric as directed—commonly design side down.
For dark-fabric transfer paper, remove the backing if the manufacturer directs you to do so, then place the printed design face up on the fabric. Cover it with the provided pressing sheet or another protective layer if instructed.
Take a moment to check alignment before applying heat. Once the transfer begins adhering, repositioning may not be possible.
Step 5: Apply heat and firm pressure
Press according to the exact time and movement instructions on your transfer-paper package.
In general:
- Use dry heat with no steam.
- Apply firm, even pressure across the entire design.
- Pay close attention to the edges and corners.
- Do not scorch the fabric.
- Do not guess at a universal time or temperature; different papers require different settings.
Some brands instruct users to move the iron continuously with firm pressure, while others recommend pressing in sections with little movement. This is why the transfer-paper instructions are the authority for your specific project.
Step 6: Peel the backing correctly
Transfer papers may be:
- Hot peel: Remove the backing while it is still warm.
- Warm peel: Wait briefly, then remove it.
- Cold peel: Let it cool completely before removing it.
Follow your package directions exactly. Peeling too early or too late can cause the design to lift, crack, wrinkle, or fail to adhere properly. Epson, for example, instructs users of one transfer product to wait briefly before peeling, while other products have different requirements.
If an edge is lifting, stop peeling. Lay the backing or protective sheet back over the design and repress that area according to the paper instructions.
Step 7: Let it set before washing
Allow the finished item to rest before washing it. Many transfer-paper manufacturers recommend waiting at least 24 hours before the first wash.
To help the design last:
- Turn the item inside out before washing.
- Wash in cold water when the transfer manufacturer recommends it.
- Use a gentle cycle and mild detergent.
- Avoid bleach unless your transfer-paper instructions say it is safe.
- Air-dry or use the lowest dryer setting allowed by the manufacturer.
- Do not iron directly on top of the transferred design; protect it with parchment paper or iron from the reverse side if needed.
Free Printable Iron-On Designs
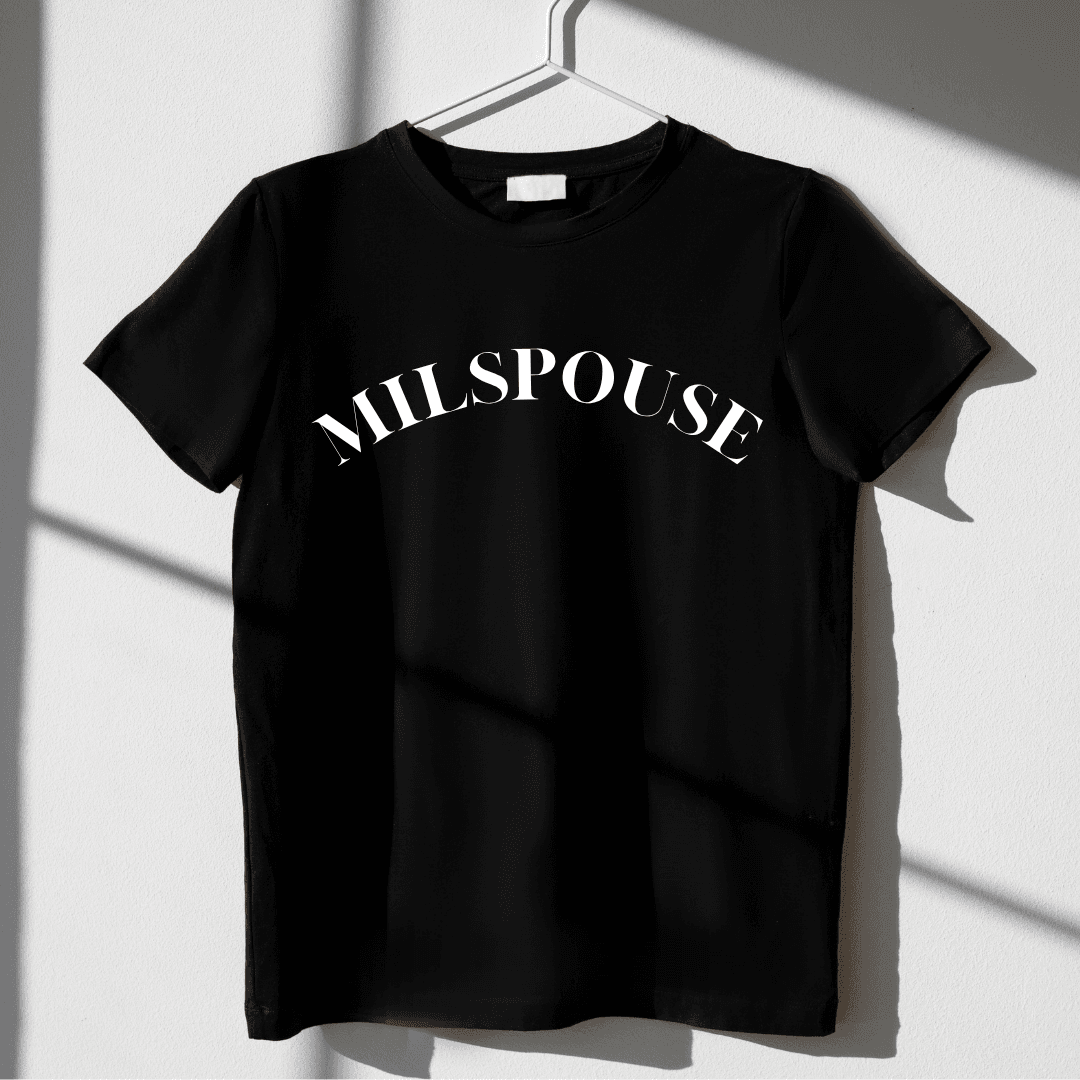
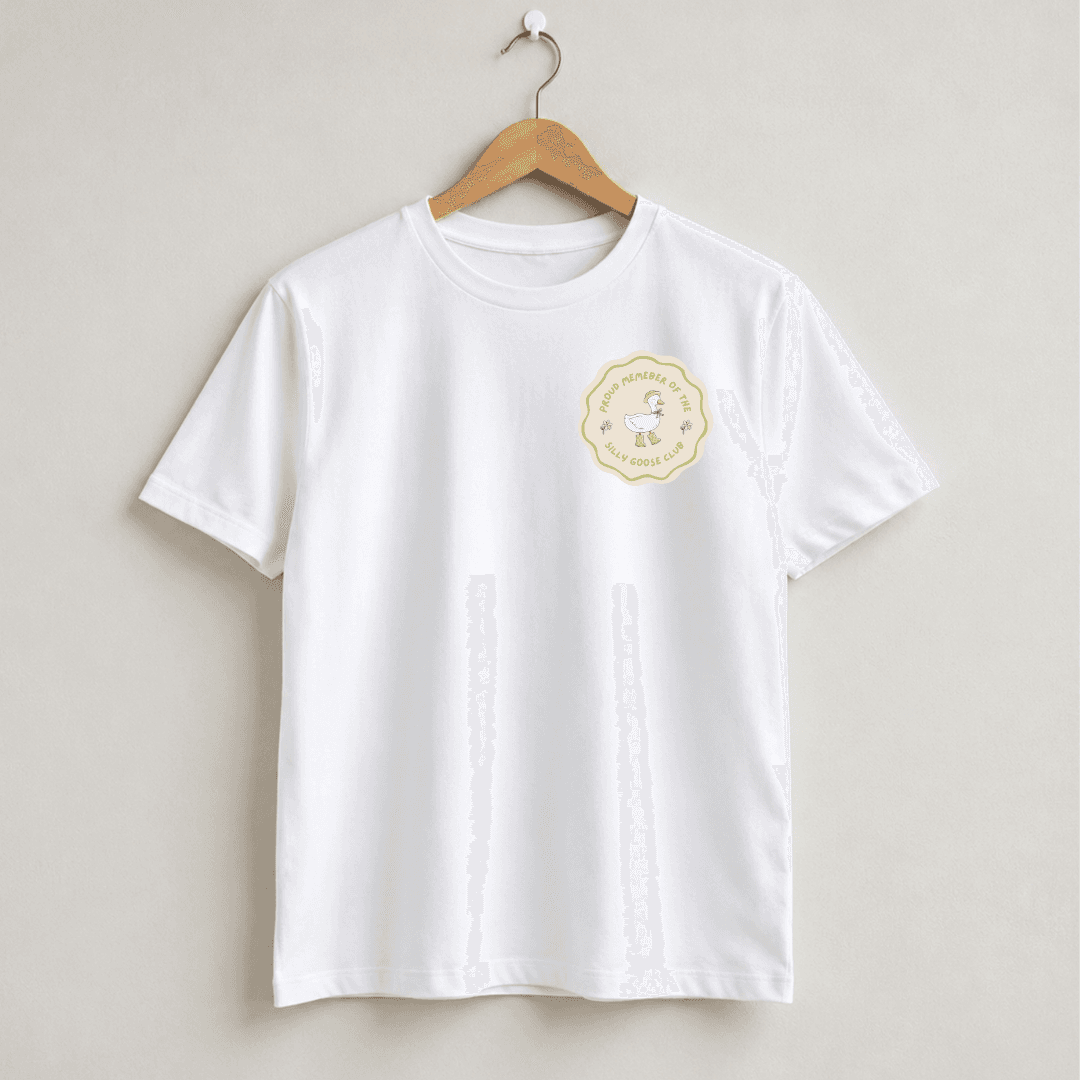
To get you started, download one of the free designs provided.
 |  |
| 
|
If you want to make something on your own, here are a few ideas you can use for T-shirts, tote bags, sweatshirts, or family craft projects. Create them in your preferred design program using a bold, high-contrast font, then print according to the transfer-paper instructions.
Military family printables
- Home Is Wherever We PCS Together
- Bloom Where You’re Stationed
- Military Family Strong
- Adventure Is Our Duty Station
- Our Family’s Next Stop:
- PCS Crew
- Homecoming Ready
- Proud Military Kid
- Stronger Together
- Love Knows No Distance
Family and couple printables
- Family Adventure Club
- Weekend Memory Makers
- Together Is Our Favorite Place
- Made With Love
- Our Crew
- Team [Last Name]
- Cozy Season Crew
- Family Movie Night
- Date Night In
- Making Memories
Kid-friendly printables
- Little Maker
- Camp Mom
- Camp Dad
- Big Imagination
- Future World Changer
- Craft Crew
- I Made This
- Tiny but Mighty
- Official Snack Tester
- Best Day Ever
Personalize the design
To make a simple printable feel more personal, add:
- A family name.
- A duty-station city or state.
- A graduation year.
- A birthday date.
- A deployment-homecoming date.
- A child’s hand-drawn picture.
- A favorite family saying.
- A team, club, or school spirit message.
For a military-connected family, a custom tote with “PCS Crew” and a duty-station year can make a practical moving-day bag. For a couple, a pair of shirts with a shared inside joke or a low-key date-night phrase can turn an inexpensive craft into a meaningful keepsake.
Common Mistakes to Avoid
Forgetting to mirror text
This is the classic first-time error. If you use light-fabric paper and forget to flip a text design, the letters will transfer backward. Always use a plain-paper test print first.
Using the wrong paper for the fabric color
Light-fabric paper is not a substitute for dark-fabric paper. On a dark shirt, light-paper designs may look dull, disappear, or apply incorrectly. Choose material made for the fabric color you are using.
Printing on the wrong side
If the printer puts the image on the backing side, the transfer may not work. Confirm the printable side before loading your paper.
Leaving steam on
Steam adds moisture and can interfere with adhesion. Empty the iron if needed and turn off the steam setting before pressing.
Using too little pressure
Heat alone is not enough. Transfers generally need even, firm pressure across the full design. Work carefully over edges, corners, and large areas.
Washing too soon
Give the transfer time to set before washing. Waiting at least 24 hours is a common manufacturer recommendation, but always follow the instructions for your exact product.
Treating every paper brand the same
Press temperature, press time, paper orientation, and peel method vary. Keep the original instructions nearby while working. The package directions override any general tutorial—including this one.
What would you make first? Share your project idea, your duty station, or the phrase your family would put on a custom shirt. Your answer could inspire another military family looking for a low-cost, personal craft idea.
For more fun, family craft ideas, check out this Fall Pumpkin art project!











No comments yet. Be the first!